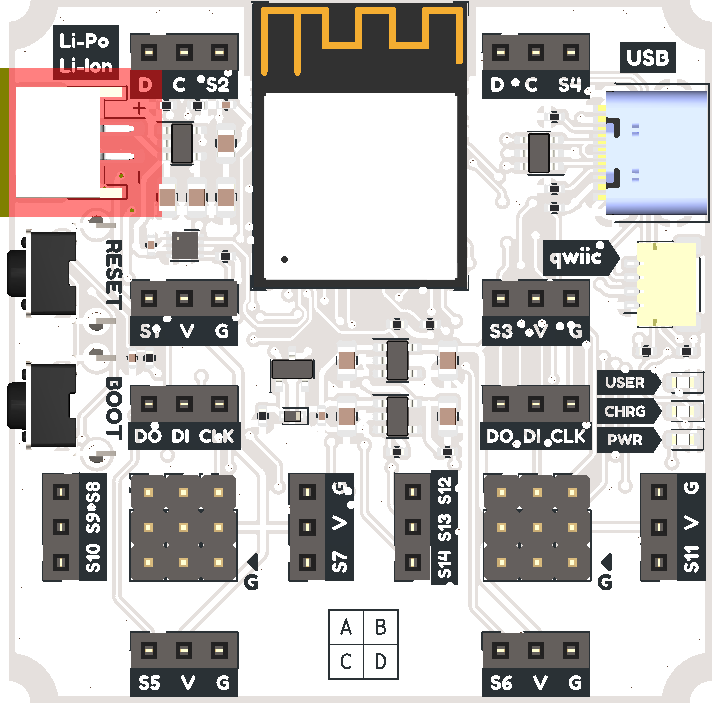
Using Li-Po/Li-Ion batteries
Before buying or connecting the battery, make sure that the plus and minus are located correctly (on the board it is signed which side is plus and which is minus). If the polarity of the connector is incorrect, you can damage the device!
The battery must have a JST PH 2 connector, and a capacity of 200 mA.
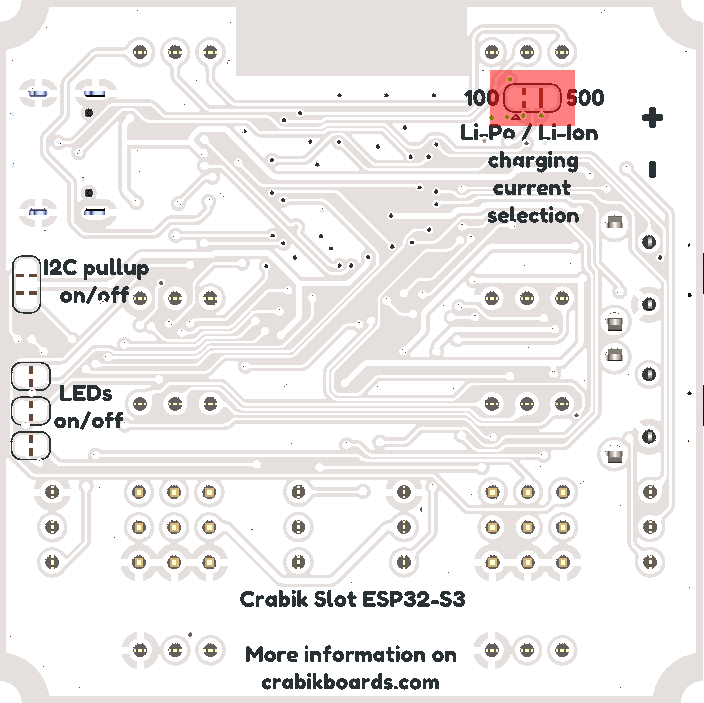
If you use a battery with a capacity of 1000 mA or more, then for a faster charging process, we recommend changing the charging current. This can be done by cutting the jumper on the reverse side, and making a new jumper with a soldering iron and solder, from position 100 to position 500. Then, the charging current will change from the standard 100 mA to 500 mA.
If the battery is not connected, the CHRG LED will flash continuously. This is because the charging chip cannot tell the difference between a fully charged battery and no battery, so it cycles between trying to charge and not charging. This behavior is normal.
If you are using the Arduino IDE, then install the Adafruit_MAX1704X library via the library manager or from GitHub. When using CircuitPython, the library and installation instructions can be found on GitHub. Examples of working with are in library repositories. We recommend making one or two battery discharge cycles, for more correct readings of MAX1704X. It is also not necessary to request data no more than once every two or three seconds.